The 1:3 Risk Reward Ratio: How to Calculate It and Use It
Most setups on your chart should be passed on. Here's how the 1:3 risk-to-reward filter works, the breakeven math behind it, and a worked Bitcoin example where patience did all the heavy lifting.

Updated
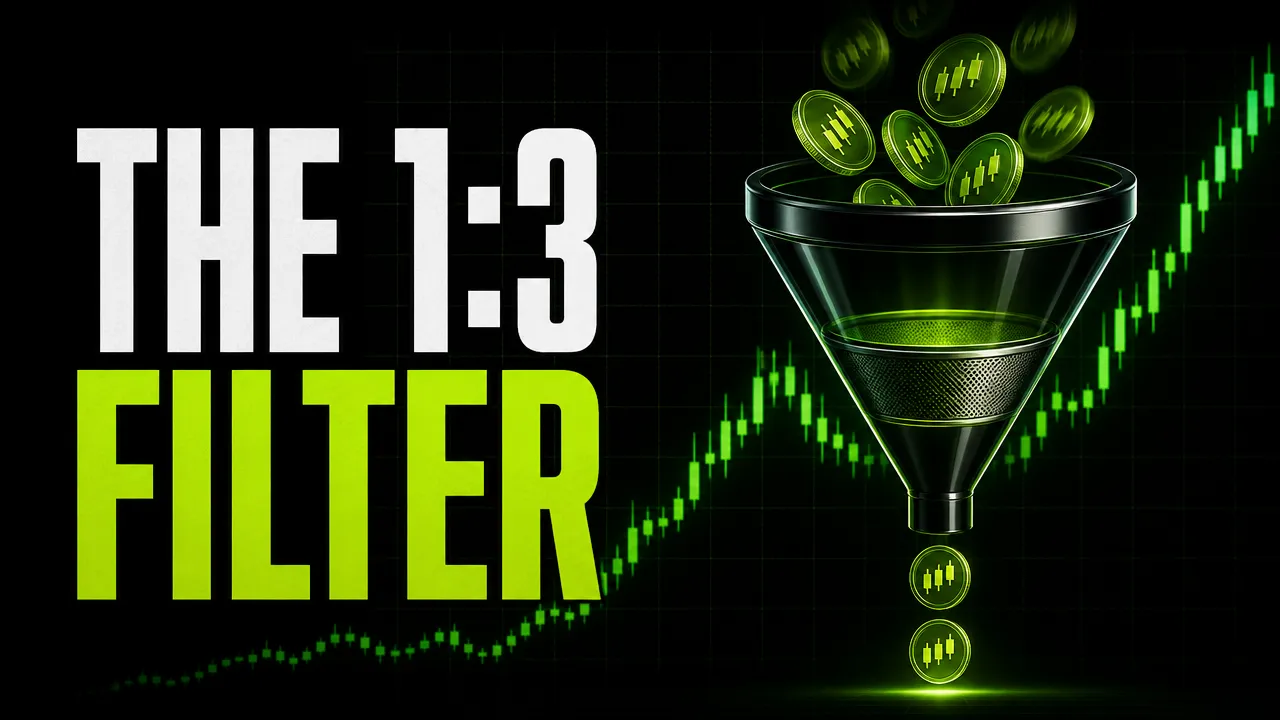
Most trades you see on your chart shouldn't be taken... and that's not pessimism, that's math.
A 1:3 risk-to-reward filter is a rule that you only take a position when the distance to a realistic target is at least three times the distance to your stop. Every dollar at risk has to be matched by three dollars of planned reward, measured from levels on the chart, not from hope. At 1:3, the arithmetic breaks even when one position in four reaches its target, before costs. The filter doesn't find trades. It removes them, and most setups don't survive it.
Here's how I think about it. "If I try to look for a trade and I can't realistically put a one to three on it, I don't really need to go look for the rest of the stuff."
Our risk-to-reward training says it without softening: "And the reality is, most trades that you might see shouldn't be taken."
That's an unpopular message in a feed full of screenshots. The influencer post shows the target that got hit. Does it ever show the stop, the size, or the three setups that should have been passed on first? Never. Of course not. A screenshot of a trade you didn't take has never gotten a single like.
So here's the sort. If you want a written rule that tells you when to do what Niko calls sitting on your hands, keep reading. If you want permission to click on every candle that looks exciting... this filter is going to feel like a wet blanket, and that's exactly the point.
So what is a risk-to-reward ratio, really?
A risk-to-reward ratio is what you're willing to give up, measured against what the chart says you can realistically get.
A risk-reward ratio compares what a position stands to give up at its stop with what it stands to gain at its target.
Risk-to-reward = distance from entry to stop : distance from entry to target
A long at $60,000 with a stop at $59,000 and a target at $63,000 risks $1,000 to reach for $3,000. That's 1:3.
The order you set those numbers in matters more than the ratio itself.
- The stop comes first. It goes where the thesis is wrong. In the training's words: "you really wanna be placing your stop-losses in areas where it no longer makes sense. You don't wanna be in that trade anymore."
- The target comes second. It goes where the chart says price is likely to meet resistance or support, such as a previous rejection.
- The ratio is the result. You read it. You don't create it.
Here's the mistake I see over and over: people run it in reverse. They decide the trade needs to be 1:3, then drag the target further away or the stop closer until the tool agrees. That's not a plan. That's a coloring book.
If you have to move the stop to make the ratio work, the trade failed the filter. Period.
Why does 1:3 matter so much?
Because a ratio tells you how often you need to be right just to stand still.
Breakeven share of targets hit = 1 ÷ (1 + reward multiple)
| Ratio | Targets needed to break even, before costs |
|---|---|
| 1:1 | 1 in 2 (50%) |
| 1:2 | 1 in 3 (about 33%) |
| 1:3 | 1 in 4 (25%) |
| 1:4 | 1 in 5 (20%) |
Run it with our house numbers: a $50,000 account risking 1% per position, which is $500. One percent sits inside the 1 to 2% of the account we recommend when you're new, and 4% is the ceiling we never go past. Take four positions at 1:3.
- One reaches its target: +$1,500
- Three reach their stops: 3 × $500 = $1,500 given back
- Net: $0, before fees and slippage
At 1:1 the same four positions need two targets to get back to zero. At 1:3 they need one. See the difference, right?
Two honest limits sit next to that math. First, costs are real. Fees and slippage come out of every one of those four positions, so the practical breakeven sits a little above one in four. Second, a ratio is only as good as its target. A higher ratio usually means a target further away, and targets further away get reached less often. The ratio and how often targets get hit are linked. Neither number means anything alone.
What 1:3 buys you is room. A run of stops is a normal part of trading. A wider gap between the breakeven line and your actual results means a bad week doesn't force you to tear up the plan.
What does the 1:3 filter look like on a real chart?
Same coin. Same target. Two completely different trades.
The numbers are illustrative. Bitcoin is in a range, with support at $58,000 and resistance at $62,000. Price is at $60,000, right in the middle.
Setup A: enter now, at $60,000
- Stop: $57,500, below support, where the long is proven wrong
- Target: $61,800, just under resistance
- Risk: $2,500. Reward: $1,800
- Ratio: about 1:0.7. It fails.
Setup B: let support get taken, then enter
This is the equal lows strategy. Price drops through $58,000 to $57,600, where the stops of everyone long under support get hit, then closes back above $58,000. That's the entry: where everybody else is getting stopped out.
- Entry: $58,200, on the reclaim
- Stop: $57,500, beyond the low of the sweep. If price takes that out and stays below, the setup has failed.
- Target: $61,800
- Risk: $700. Reward: $3,600
- Ratio: about 1:5.1. It passes.
Same coin, same target, same place where the trade is proven wrong. The only variable was patience: waiting for the level to be taken instead of buying in front of it. We call that trade patience, and it's most of the job. You should spend more time waiting for setups like B than taking setups like A.
The training diagnoses the failed version precisely: "It's simply because you're trying to enter too soon or too late into a market." Halfway between support and resistance, there's rarely room for 1:3 in either direction.
I call the middle of a range the 50/50 zone. "We have a 50% chance of hitting the lows... and 50% chance of hitting the highs." So I only short the manipulation of the highs and long the manipulation of the lows. "Anything in between that? I ain't interested."
Then the size follows from the stop. At $500 of risk and $700 to the stop, the position is $500 ÷ $700 = about 0.71 BTC, worth about $41,600 at entry. The stop sets the risk, and the contract size comes from the stop. Here the stop is close, so the contracts go up and the dollar risk stays at $500. That position is large next to the account, which is why step four of the process is checking total exposure before the order goes in. Our crypto risk management guide covers that step.
"Without your known stop-loss, it is impossible for you to know your estimated loss size." No stop, no ratio, no size. The filter and the sizing are the same discipline seen from two sides.
Why do most crypto setups fail the 1:3 filter?
Because most people enter where it feels good, not where the chart gives them room.
When a setup can't reach 1:3, the cause is almost always one of four things:
- Entry in the middle of a range. The next level in each direction is too close.
- Chasing. Price has already moved, and the target is now near the next resistance while the stop is still way below.
- Entering before the level is taken. Buying in front of support means your stop has to sit below a sweep that hasn't happened yet. Waiting for it puts your entry where the crowd's stops were.
- A target with no reason. A round number or a hoped-for move isn't a level.
This applies whatever strategy you use. The setups in our crypto trading strategies guide all produce an entry, a stop and a target. The filter asks the same question of each one.
The training names what the filter forces you to do: "Number one, being patient and waiting for a good entry. And number two, which is arguably more important, is having a plan."
Chasing a candle because it's moving isn't a setup. It's FOMO with a chart open.
Where does the 1:3 filter sit in the Decision Protocol?
The filter sits right before the order. And it can kill the trade on the spot.
The Decision Protocol is seven decisions made in the same order every time. Five come before the order: define the thesis, set the invalidation level, size the position, check total exposure, plan entry and exit. Two come after: journal the result, review the decision.
The ratio gets checked inside step five, once the stop from step two and the target from the chart are both known. If it fails, the protocol ends there. No order. That's a decision too, and it belongs in the journal.
My own rule is simple: "I don't take any trades under one to three." You can choose a different threshold. What matters is that it's written down BEFORE you look at the setup, so it can't bend to how badly you want the trade.
What can't the filter do for you?
The filter can't see the future. Nobody can.
It doesn't predict which positions will work. It doesn't remove market risk, and a filtered position can still get stopped out several times in a row. It can't fix a target that was never realistic.
What it does is turn a feeling into a number you can check. It makes passing on a trade a planned outcome instead of a missed opportunity. That's a quiet kind of edge... but it's the kind that keeps you in the game long enough to get good.
Every member makes their own decisions with their own capital. We review the process behind each ratio. We don't manage your money. We teach you to.
What should you do this week?
Go back through your last 20 positions and write down the ratio each one actually had at entry. Count how many would have passed 1:3. Then look at where the ones that failed were entered. I'd bet on the middle of a range.
Count them honestly, and there's a good chance the trades you should have skipped paid for most of your losses.
Want to practice running every setup through the filter with traders who use the same rule? Try the Crypto Renegades Skool Community free for a week.
This is education, not financial advice.
Frequently asked questions
It's a written rule that you only take a position when the distance to a realistic target is at least three times the distance to your stop. The stop goes in first, where the thesis is wrong, the target comes from chart structure, and the ratio is read off the chart, never forced. Most setups fail it, and that's the point.
It means the distance from entry to target is three times the distance from entry to stop. A long at $60,000 with a stop at $59,000 and a target at $63,000 risks $1,000 to reach for $3,000.
One time in four, before costs. Four positions risking $500 each: one target worth $1,500 offsets three stops at $500 each. Fees and slippage push the practical breakeven slightly higher.
No. A higher ratio usually means a target further away, and distant targets get reached less often. A ratio only means something when the target is a realistic level on the chart.
No. The stop belongs where the thesis is wrong. If the ratio fails with an honest stop, wait for a better entry, such as after the level gets taken and reclaimed, or pass. The contract size comes from the stop, so the dollar risk stays the same either way.
Sources
General education only, not financial advice. Crypto and leverage involve substantial risk of loss. Read our risk disclosure.

Written by
Chad WittfeldtCo-Founder and Strategy Lead, Crypto Renegades
Chad first heard about Bitcoin in 2012, bought his first coin in 2013 at around $100, learned markets through forex in 2015 and went full time on crypto in 2017, posting public technical analysis on Bitcoin's break above $3,000 that August. That same year he flagged USI Tech and BitConnect as Ponzi schemes and warned the people around him before either one was exposed. He ran an Ethereum GPU mining operation from 2019 to 2021, and verification runs through everything he teaches.